VPN Installation Instructions for Mac
Installing the VPN
Uninstalling the VPN
Connecting to VPN | Disconnect from VPN
Connecting to FULL VPN | Disconnect from FULL VPN
Installing the Cisco Secure Client
-
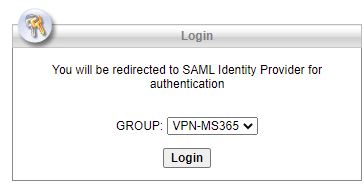
Download the Cisco Secure Client installer for Mac. Make sure to select the group called VPN-MS365 as shown in the screenshot below.
-
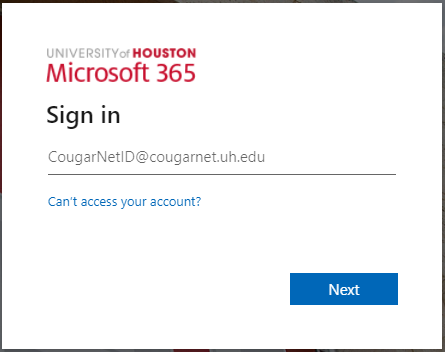
Enter your Microsoft 365 email.
-
Click Next.

-
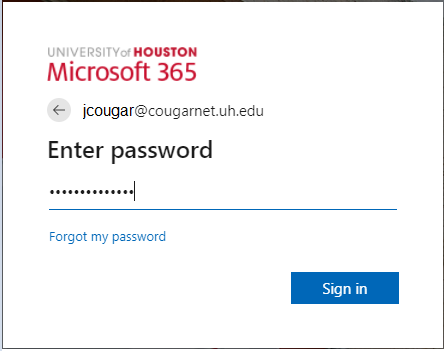
Enter your Microsoft 365 password.
- Click Sign in.

-
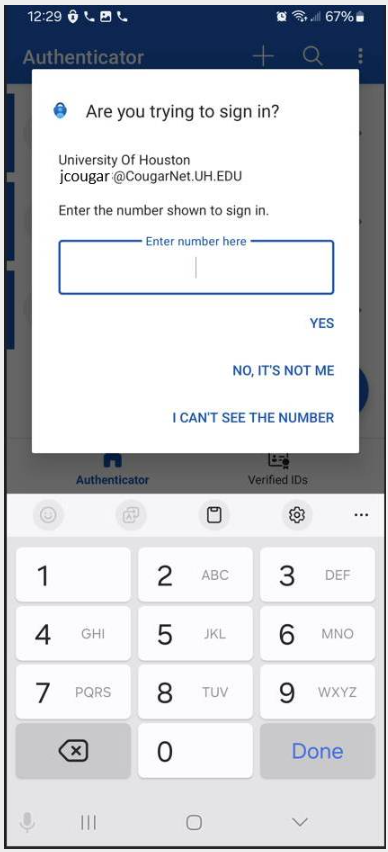
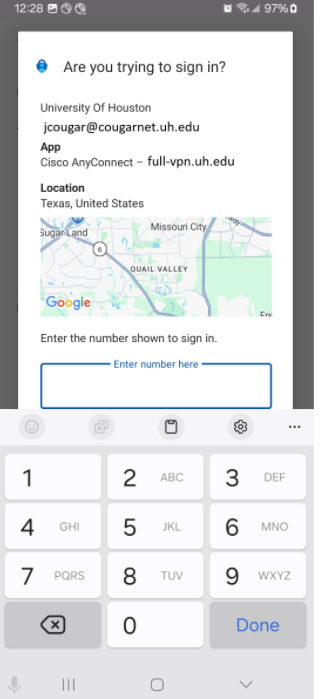
You will be prompted to authenticate through Microsoft Authenticator.
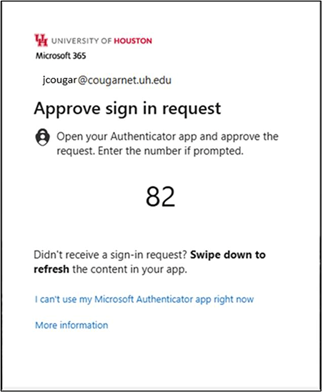
- Enter the two digits from the screen above.
- Tap Done.
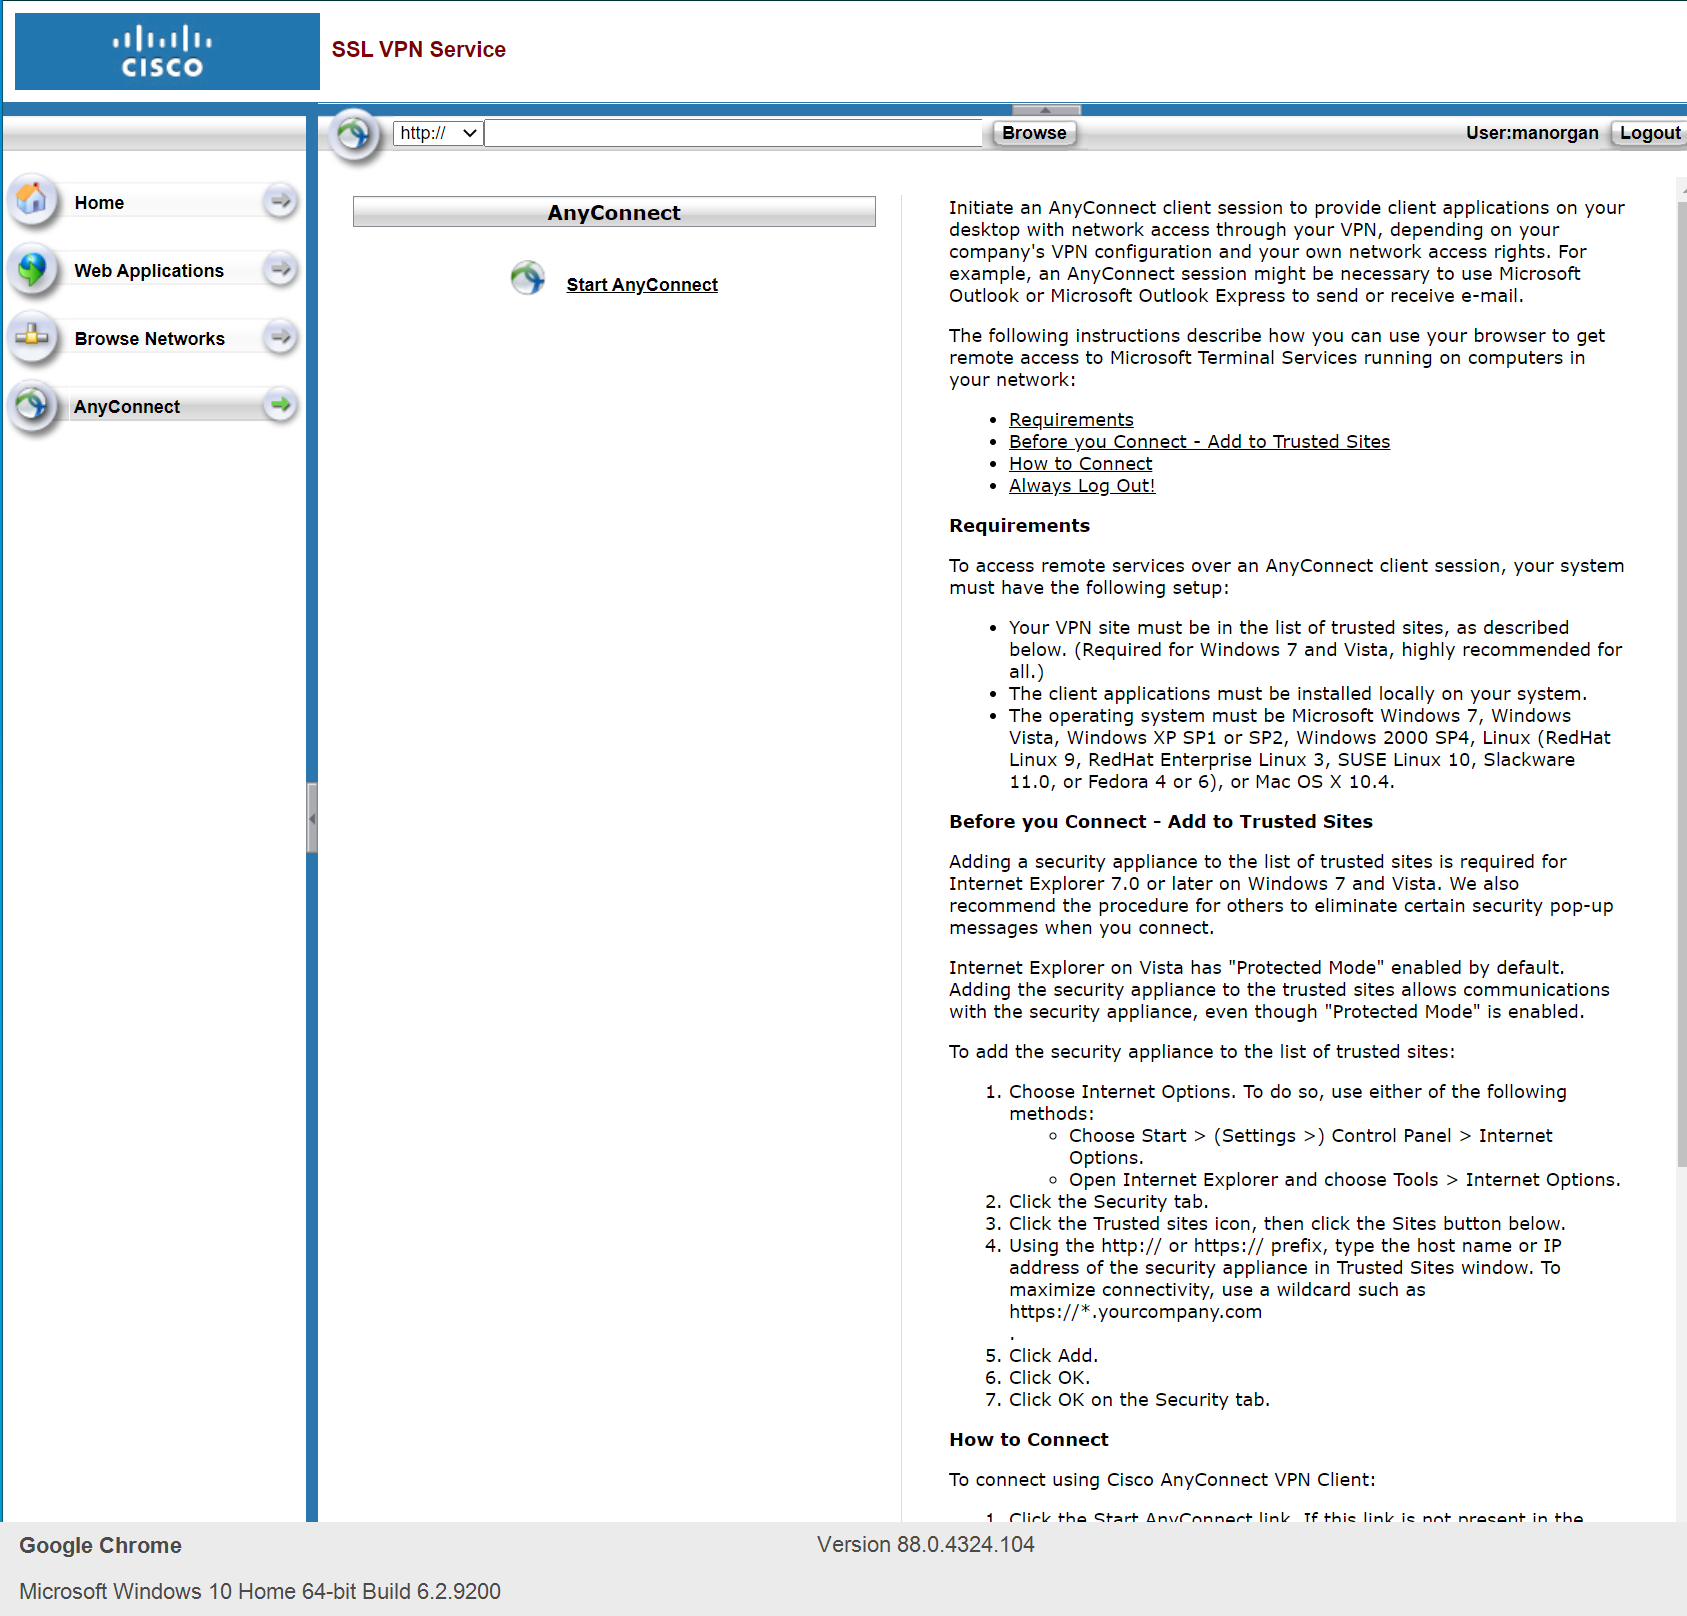
- Select AnyConnect on the lower left side of this window.
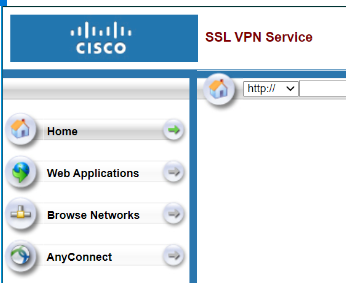
- Click Start AnyConnect.
-
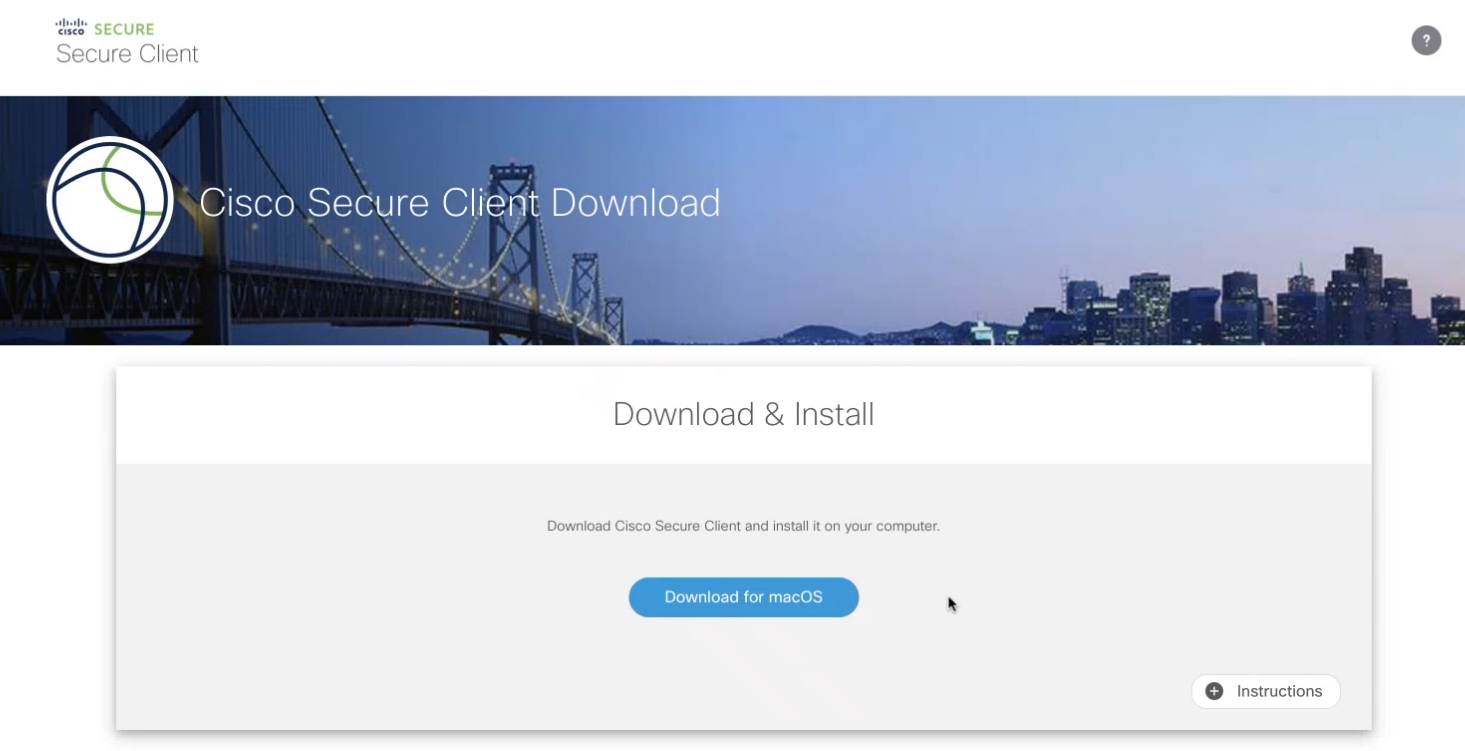
Click Download for macOS link to download the software.
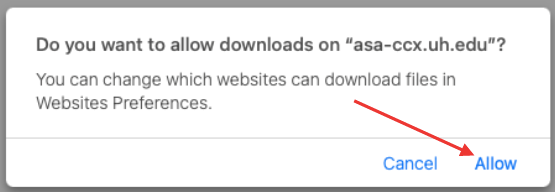
- Click Allow.
-
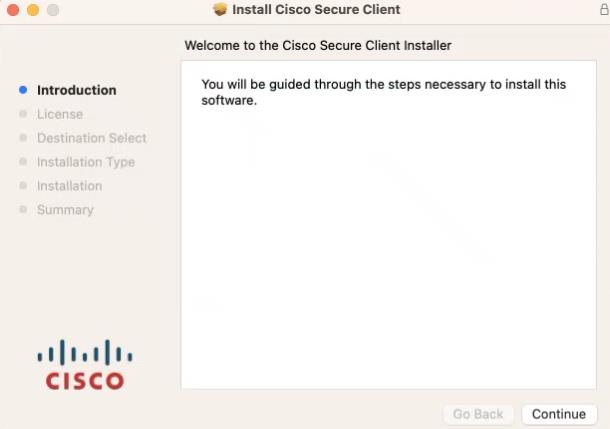
Double-click the CiscoSecure.pkg file to start the Cisco AnyConnect Installer wizard.

-
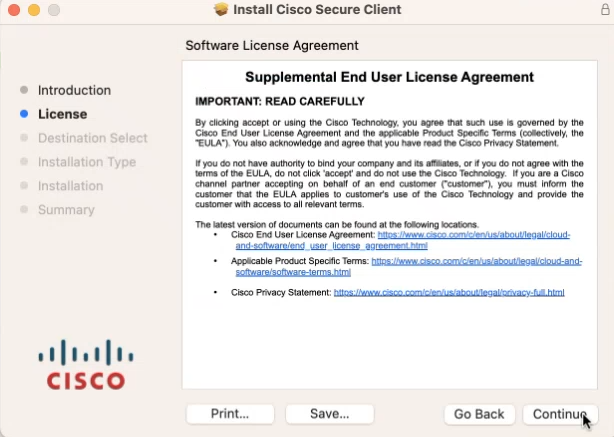
When the Welcome window displays, click Continue.
- Click Continue.
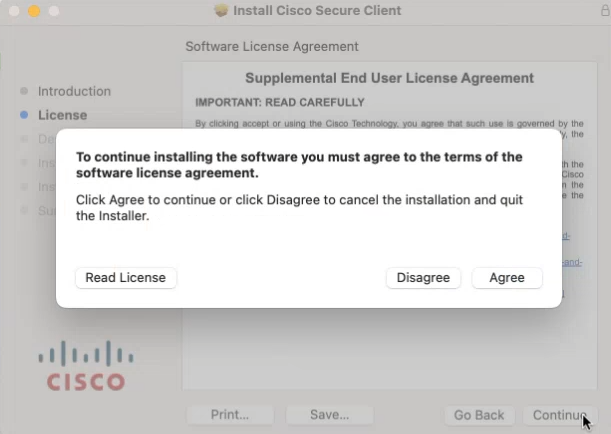
- Click Agree.
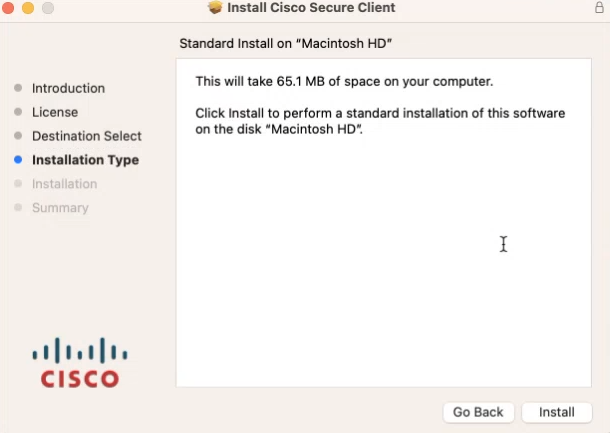
- Unselect all and leave AnyConnect VPN.

- Click Continue.

- Click Install.
-
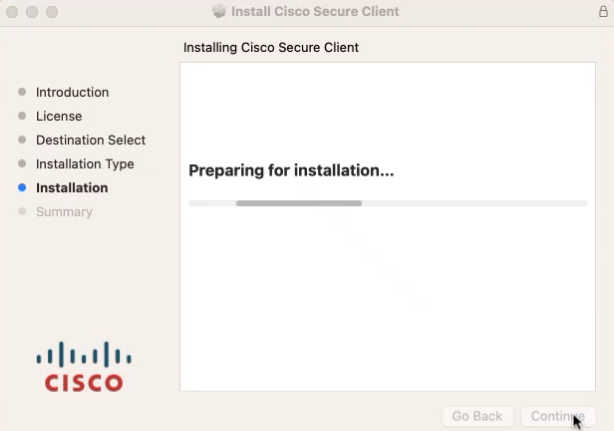
Allow a moment for the software to install.
-
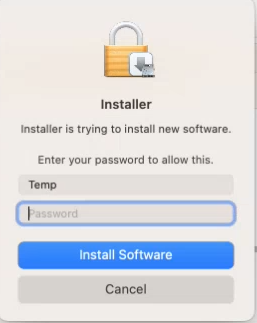
At the prompt, enter your administrator account password for the Mac and click Install Software.
-
Now, to allow system extension, click Open System Settings at the bottom of this window.
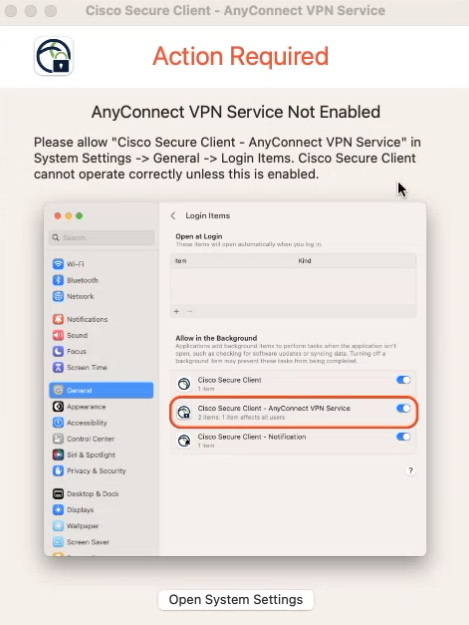
- Click the Toggle to enable Cisco Secure Client - AnyConnect VPN Service.

- At the prompt, enter your admnistrator account password for the Mac and click Modify Settings.

- Click OK. (Note: Click the toggle to enable the Socket Filter. If the System Settings doesn't automatically open, go
to System Settings → General → Login Items & Extensions → Scroll down to Extensions & click on the icon next to it → toggle it on.)

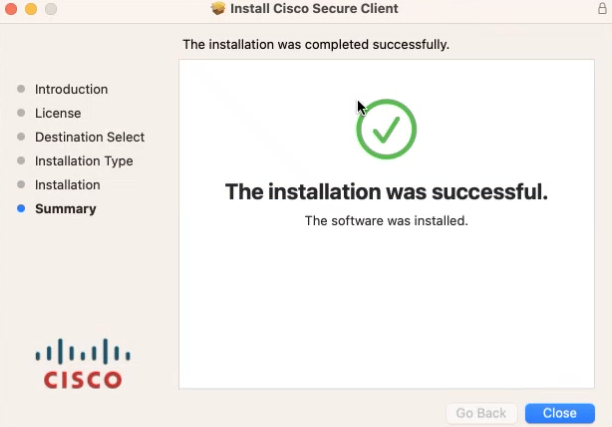
- The installation was successful click Close.
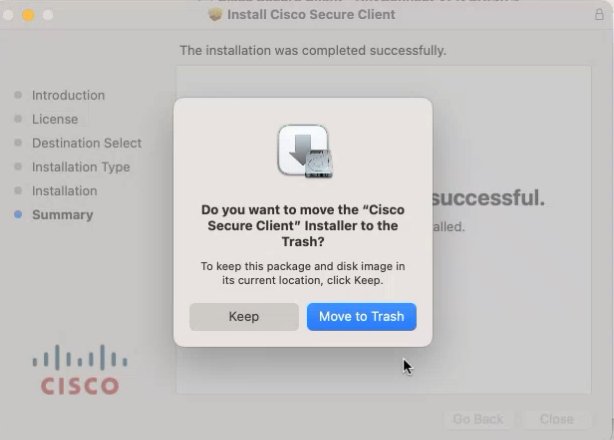
- Click Move to Trash. You are now ready to use CISCO AnyConnect VPN click Finder/Applications/CISCO. Double click Cisco Secure Client app.
Uninstalling the Cisco Secure Client
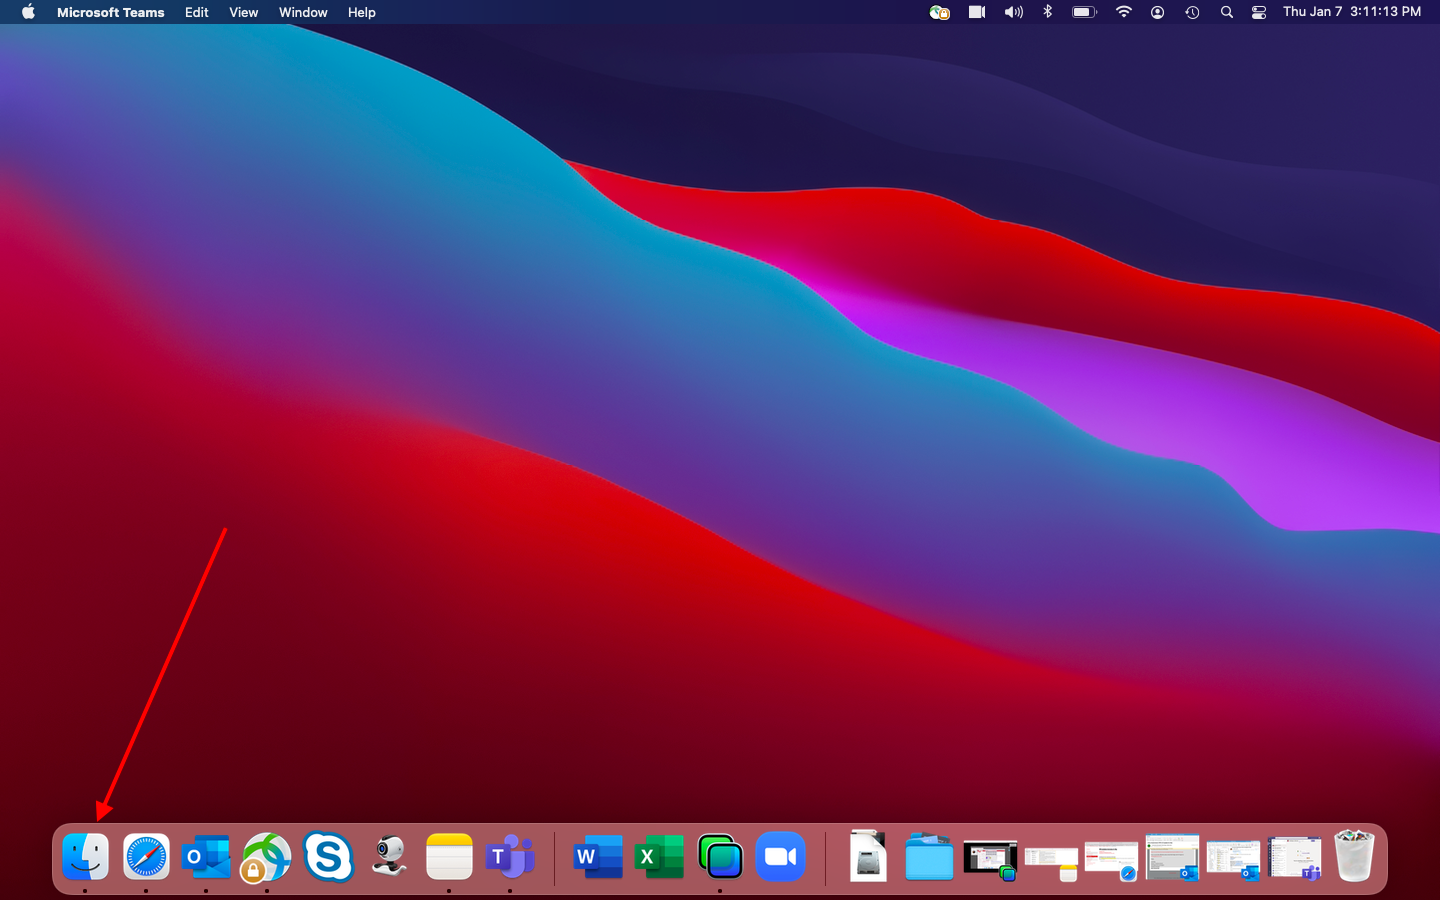
- Click Finder icon.
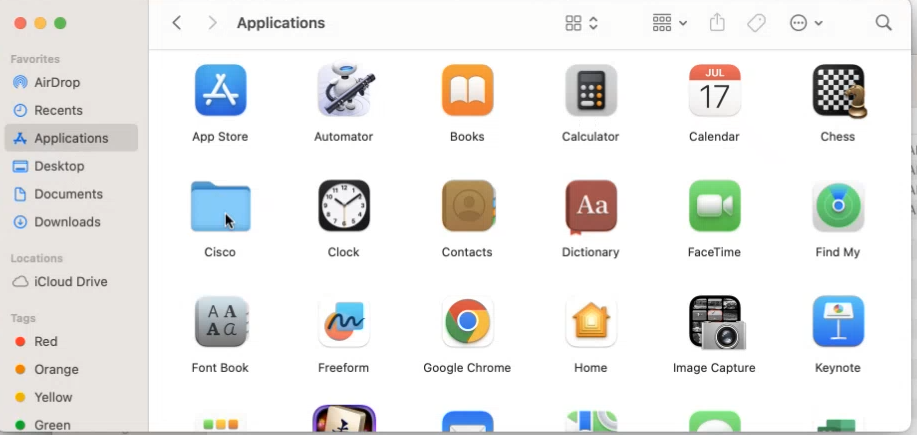
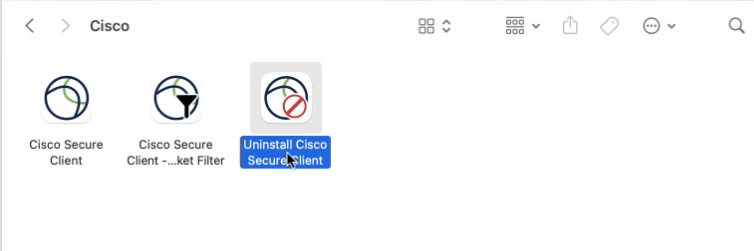
- Click Applications. Double click CISCO folder.
- Double click Uninstall Cisco Secure Client.
- Click Uninstall.
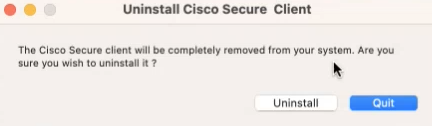
- Enter Admin password.
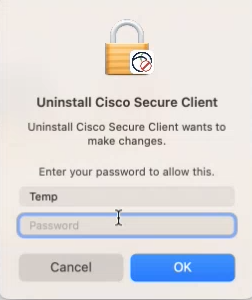
- Enter Admin password again if prompted. Click OK.
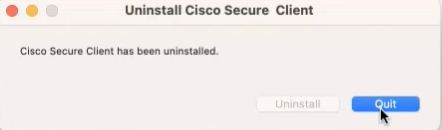
- Uninstall is completed.
Connecting to the UH VPN
This is for users that need to access UH secure network resources from off campus. Please make sure to have the DUO mobile app installed on your device before starting.
- Open Finder/Applications/Cisco Folder.
- Double-click Cisco folder, then open Cisco Secure Client.
- Type vpn.uh.edu/VPN-MS365 in the address column as seen here then click “Connect”.

- Once prompted enter your Microsoft 365 email.
- Press Next.

- Enter your Microsoft 365 password.
- Click Sign in.
- You will be prompted to authenticate through Microsoft Authenticator.
- Enter the two digits from the screen above.
- Tap Done.

Disconnect from the UH VPN
-
Click the Cisco Secure Client icon with a small lock.

-
At the prompt, click Disconnect.

Note: If you disconnect from UH VPN you will be required to re-enter your password for reconnections.
Connecting to the Full UH VPN
This is for users that need to access web-based journals and databases licensed by UH Libraries. Please make sure to have the DUO mobile app installed on your device before starting.
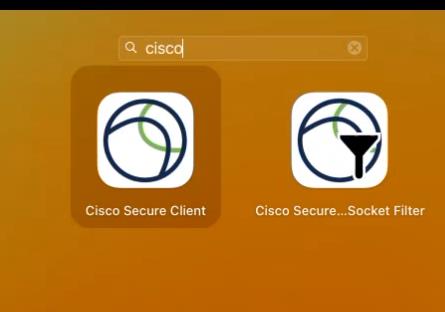
- Open Finder and search for Cisco. You should see the Cisco folder.
- Double-click Cisco folder, then open Cisco Secure Client.
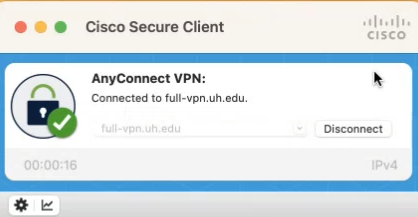
- Type full-vpn.uh.edu in the address column as seen here then click “Connect”.

- Once prompted enter your Microsoft 365 email.
- Press Next.
- Enter your Microsoft 365 password.
- Click Sign in.
- You will be prompted to authenticate through Microsoft Authenticator.
- Enter the two digits from the screen above.
- Tap Done.
Disconnect from the Full UH VPN
-
Click the Cisco Secure Client icon with a small lock.
-
At the prompt, click Disconnect.
Note: If you disconnect from the full UH VPN you will be required to re-enter your password for reconnections.